Category tree
Category tree displays all existing offer categories in their hierarchical structure.
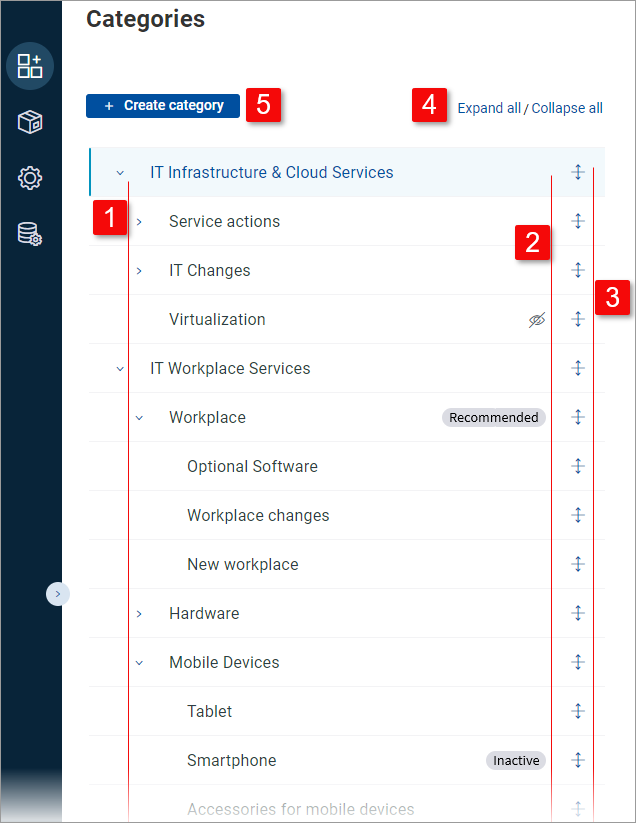
| The hierarchical category structure - top, 2nd and 3rd level categories. Use the expand/collapse arrows to expand/collapse individual top and 2nd level categories. |
| Use the status column to see which categories will be visible to the end user. Three possibilities exist:
|
| Use the reorder icons to change the order of categories. Note that categories can only be reordered on the same level and within their common parent category. |
| Use Expand all / Collapse all to bulk-expand or bulk-collapse all categories in the tree. |
| Use the button to create a new category. The action by default creates a blank 1st level category and opens it in where its position needs to be specified using the and fields. Note that it is also possible to directly create a new subcategory of a selected 1st or 2nd level category. |


